How to DIY Vape Juice: Step-by-Step Guide
DIY vape juice offers vapers the opportunity to customize their vaping experience like never before. Now, I’ll take you through a step-by-step process, provide essential tips, and include real-life case studies to help you perfect the art of e-liquid creation.
Why Choose DIY Vape Juice?
Unlock Creativity and Control
Making your own vape juice empowers you to create unique flavors and control the ingredients in your e-liquid. Whether you’re looking to save money, experiment with flavor profiles, or customize nicotine strength, DIY vape juice is the way to go.
Case Study: Sarah’s Vanilla Mint Mix
Sarah, a seasoned vaper, wanted a flavor that combined the sweetness of vanilla with the cooling sensation of mint. After experimenting with different flavor ratios, she created a blend that became her go-to vape juice, saving her $50 monthly compared to store-bought options.

Step-by-Step Guide to Making Vape Juice
1. Gather the Equipment
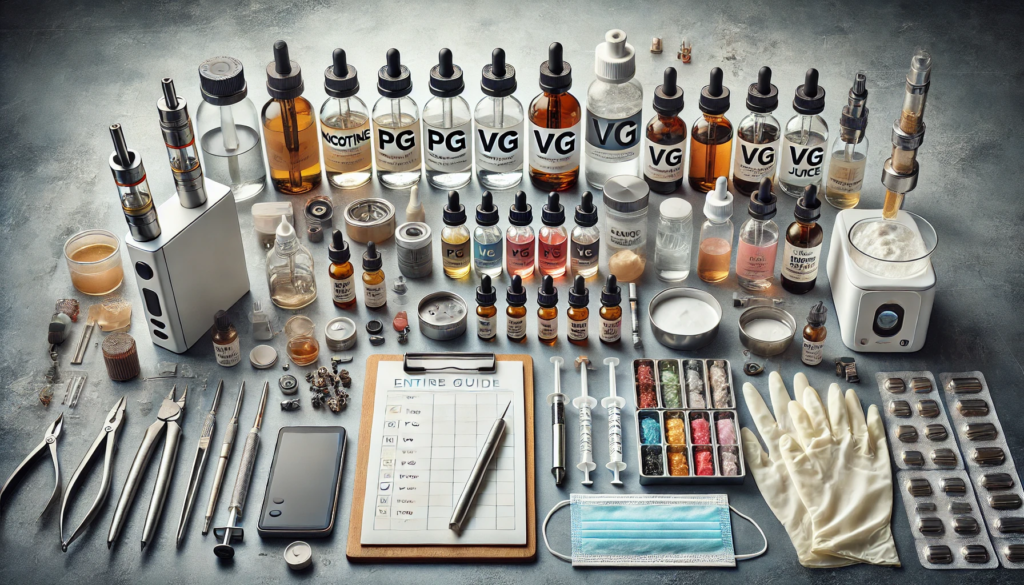
To get started, you’ll need:
- Bottles: For storing your e-liquid.
- Syringes/Pipettes: For precise measurements.
- Gloves: To handle nicotine safely.
- Measuring Containers: For mixing ingredients.
2. Collect the Ingredients
Here’s what you need:
- Nicotine (optional): Choose your desired strength.
- Propylene Glycol (PG): Provides throat hit and carries flavors well.
- Vegetable Glycerin (VG): Produces vapor clouds and adds sweetness.
- Flavor Concentrates: Choose from fruits, desserts, menthols, or blends.
3. Mix Your Ingredients
- Methods:
By Weight: Use a scale for accuracy.
By Volume: Measure liquids using syringes or pipettes. - Case Study: James’ “Tropical Thunder”
James, a vaper passionate about tropical flavors, used a 70/30 VG/PG ratio with mango, pineapple, and coconut flavor concentrates. By measuring by weight, he achieved consistency in every batch.
4. Customize Your Blend
- Add nicotine (if desired).
- Mix flavor concentrates with the base liquid.
- Shake well to combine.
5. Steep Your Juice
Let your e-liquid sit for 1-2 weeks in a cool, dark place to enhance flavor blending.
6. Test and Adjust
Take a small sample, vape, and adjust the flavor strength or ratios as needed.
(If you are a beginner then cast a glance here How to Use Vape pen.)

Benefits of DIY E-Liquids
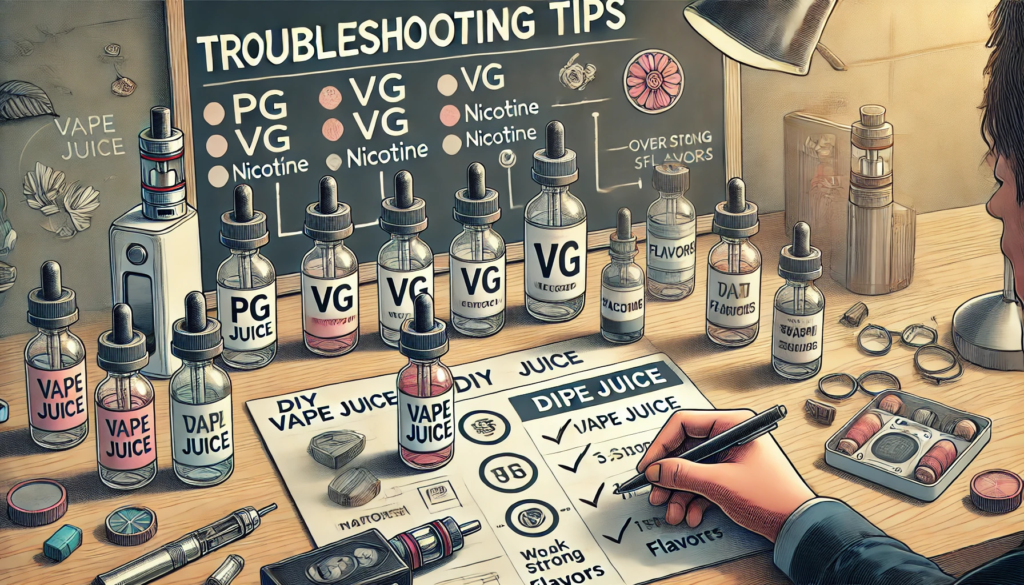
Troubleshooting Tips
- Flavor too strong?
Add more VG/PG to dilute it. - Weak vapor production?
Adjust your VG ratio to at least 70%. - Harsh throat hit?
Lower nicotine or PG levels.

Wrapping Up
Creating your vape juice allows for customization, cost savings, and the satisfaction of crafting something uniquely yours. Ready to get started? Follow and visit Vape Guru and experiment with your favorite flavor profiles.


